BY JEFF BOWDERS & STEWART JEAN
This month we are analyzing our four limbs and the role each plays on the drum set.
This week we are taking on the right foot, which typically controls the bass drum for drum foot technique. But before we get into the roles of the right foot let’s take a moment to address seat height.
Seat height is subjective to the length of your legs. To prescribe the same measurement from the floor to the top of your stool for every drummer would be very ineffective. Rather, base the height of your seat to the relationship of your hips to your knees.
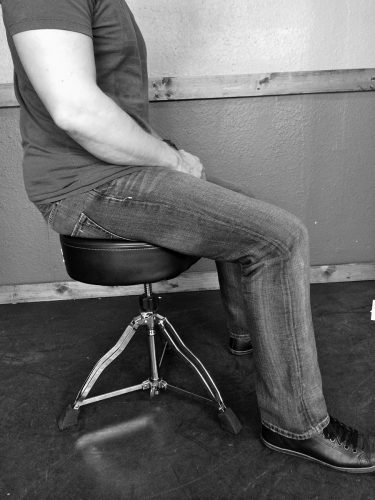
Generally, your hips should be slightly higher than your knees (Ex. 1).
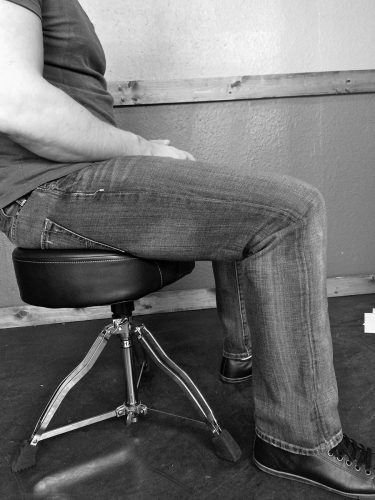
If your hips drop below your knees your center of gravity will shift and apply much unneeded pressure to your lower back and hips (Ex. 2).
If a seat is too high you may run the risk of only being able to use a full leg bass drum technique, thus leaving the desirable ankle technique aside (Ex. 3)

Since we all come in many shapes and sizes this will require some “fine tuning.” Nevertheless, this offers a solid starting place.
Heel-up Vs. Heel-down
Bass drum technique is one of the most widely overlooked aspects in effectively playing and studying the drums. Just as we explore and develop various stick techniques to gain the freedom that allow us to express ourselves, we should also have a fundamental understanding of how to control our feet. Basic bass drum technique generally falls into two categories: heel-down and heel-up.
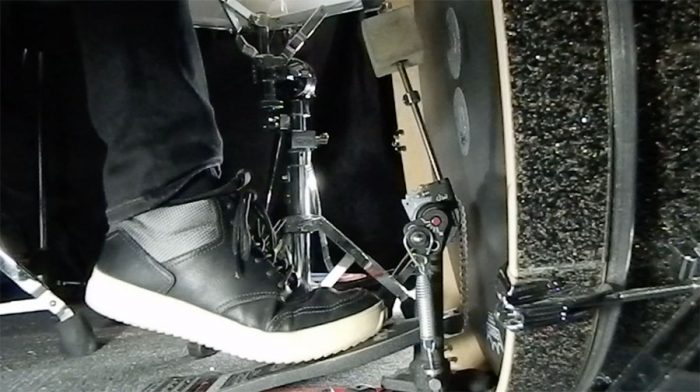
Heel-down
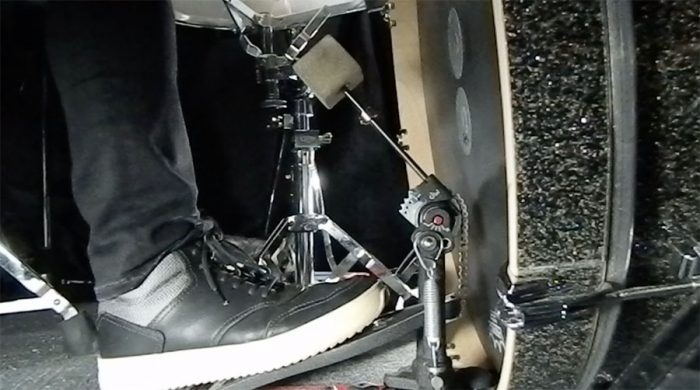
The heel-down position is just what the name implies: drop your heel to the ground (or base of the pedal plate) and then allow your foot to rest on the remaining surface of the pedal (Ex. 4).
This position solely relies on the ankle to be the pivot point in transferring the energy from the foot to the pedal.
The advantages of this technique are twofold. First, it allows you to play very soft and controlled. Second, it will help maintain your overall balance (even though our balance should be centered on our throne).
The disadvantage of heel-down is it isolates the shin muscle (Tibialis anterior). Whenever you press down on the bass drum pedal this muscle is doing all the work, and it can quickly become fatigued if you’re playing fast or loud passages. This technique is best used in acoustic settings such as jazz, lounge, and coffeehouse.
Heel-down Development Exercise
Here is an exercise for developing your ability to play heel-down.
Step 1: Remove the spring from your bass drum pedal. With the beater up against the head at a 90-degree angle, carefully place your foot on the pedal board and gently lift the front of your foot a few inches above the pedal board (Ex. 5).
Step 2: With your hand, pull the beater down from the head and place it on the top of your foot (Ex. 6).
Notice the tension that appears in the calf, shin and thigh muscles.

Step 3: Release the tension by firmly jabbing your foot down, leaving your heel on the back of the pedal board (Ex. 7).

Step 4: Immediately after impact you then quickly return your foot into the raised position above the pedal board (Exs. 8–9).
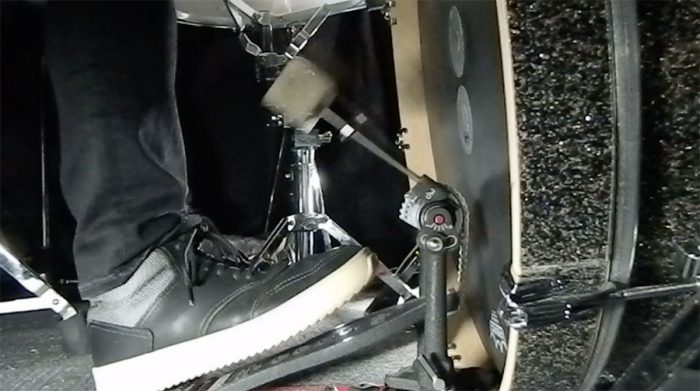
Heel-up
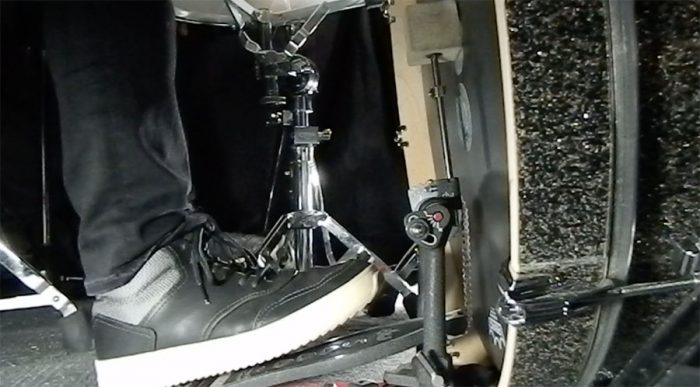
Heel-up position is similar to heel-down, but the heel is slightly raised off of the pedal board by 1–2 inches (Ex. 10).
Heel-up offers more options in terms of dynamics and speed, and is also less fatiguing on the shin muscle. This position allows us to use some of our upper leg for energy and power, however we are not relying on our upper leg to provide the energy for the bass drum stroke—the focus is still on the pivoting of the ankle to provide the stroke, just as we did with the heel-down position.
Think of heel-up as a “heel-down motion with a heel-up position.” The pivoting of the ankle motion should be identical in both positions. A good way to gauge if you’re using too much upper leg in heel-up position is to watch your knee as you’re playing.
If your knee is bobbing up and down like a piston, you’re using too much upper leg. Of course, this will change when you have to play accents or loud sections of a song, but generally the knee should only be moving sympathetically within the stroke.
To Bury Or Not To Bury
An often highly debated aspect of bass drum technique is whether or not to bury the beater. This refers to leaving the beater pressed against the bass drum head after it has been played, whereas not burying the beater allows it to naturally rebound off the head after it has been played.
This is primarily based on sonic preference. Just like any drum, pressing something against the head after it has been struck will quickly stop the natural resonance. If you want that quick and/or muted sound, then bury the beater; if you want the drum to resonate, don’t bury the beater.
If you do decide to bury the beater, however, pay attention to any residual “dribble” that the beater may softly play against the head if there is not enough pressure holding it to the surface. This is rarely a desirable sound and one you should be able to control.